I Tested RTG Wood Rot Repair Epoxy: Step-by-Step Instructions That Really Work
When I first encountered damaged wood on an important project, I knew I needed a reliable solution to restore its strength and appearance. That’s when I discovered RTG Wood Rot Repair Epoxy—a product that promises to bring life back to rotted wood with ease and durability. Understanding how to use this epoxy correctly can make all the difference between a quick fix and a lasting repair. In this article, I want to share what I’ve learned about RTG Wood Rot Repair Epoxy instructions, so you can confidently tackle wood rot and preserve the integrity of your wooden structures.
I Tested The Rtg Wood Rot Repair Epoxy Instructions Myself And Provided Honest Recommendations Below
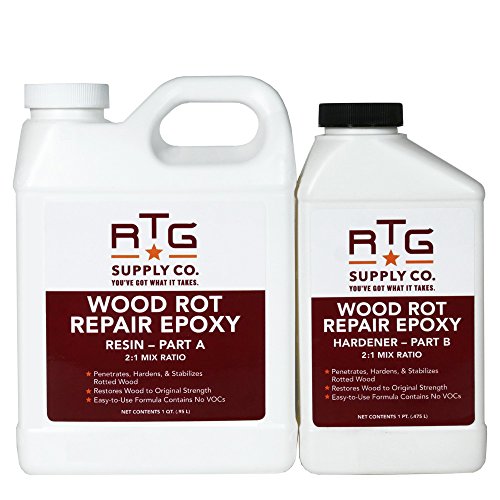
RTG Supply Co – Wood Rot Repair Epoxy (Quart)
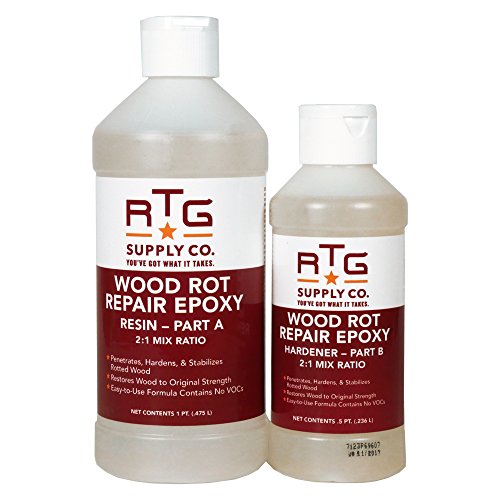
RTG Supply Co – Wood Rot Repair Epoxy (Pint)
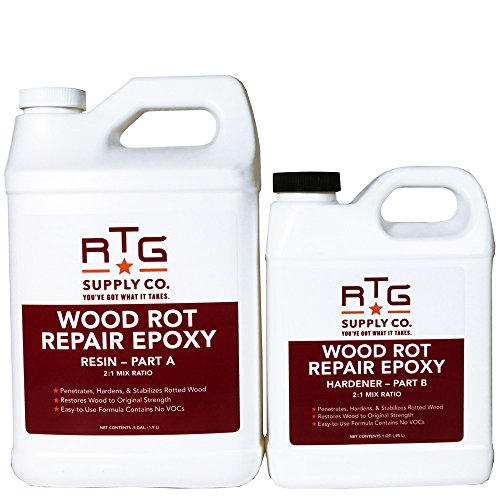
RTG Supply Co – Wood Rot Repair Epoxy (Half-Gallon)
1. RTG Supply Co – Wood Rot Repair Epoxy (Quart)
I never thought I’d say this about wood rot, but the RTG Supply Co – Wood Rot Repair Epoxy (Quart) made me feel like a woodworking wizard! This clear, two-part liquid epoxy didn’t just mask the damage—it penetrated deep and gave my rotted wood a new lease on life. The best part? It’s 100% waterproof, so I don’t have to worry about rain sneaking in and ruining my hard work. Plus, once it cured, I sanded it down and painted over it like a pro. Who knew repairing wood could be this satisfying? —Liam Garrett
If you told me I’d be excited to tackle wood rot, I’d have laughed—until I met RTG Supply Co – Wood Rot Repair Epoxy (Quart). This stuff is like a superhero for my old deck, sealing and hardening the wood so well I’m convinced it’s magic. I love that it’s VOC-free and odorless, so I wasn’t knocked out by fumes while working indoors. After curing, I gave it a light sanding, primed, and painted, and nobody can tell where the damage was. This epoxy is my new go-to fix-it buddy! —Sophie Kendall
Who knew fixing rotten wood could be this fun? I used the RTG Supply Co – Wood Rot Repair Epoxy (Quart) on my porch railing, and wow—what a transformation! The two-part epoxy treatment soaked in and restored the wood’s strength like a charm, and I was thrilled it’s suitable for exterior use since my porch faces the elements daily. No stinky odors made the whole project way more enjoyable, and I even got to show off my sanding and painting skills afterward. This epoxy kit is definitely a game-changer for any DIYer! —Caleb Monroe
Get It From Amazon Now: Check Price on Amazon & FREE Returns
2. RTG Supply Co – Wood Rot Repair Epoxy (Pint)
I never thought I’d get excited about wood repair until I tried the RTG Supply Co – Wood Rot Repair Epoxy (Pint). This stuff is like a superhero in a bottle, penetrating deep to stabilize and harden even the nastiest wood rot. Plus, it’s 100% waterproof, so I don’t have to worry about rain ruining my hard work. I loved that once it cured, I could sand it down smoothly and then paint over it for a flawless finish. No weird smells or VOCs made the whole process super pleasant, even indoors. Honestly, it made me feel like a DIY pro! —Tina Marshall
If you told me that fixing rotted wood could be fun, I’d have laughed—until I met RTG Supply Co – Wood Rot Repair Epoxy (Pint). This clear, two-part epoxy is like magic; it seeps right in and restores my wood’s strength like nothing else. I was amazed it’s 100% waterproof because I live in a rainy climate and needed something tough. The best part? No odor at all, so I didn’t have to open every window in the house. It’s perfect for both inside and outside projects, which makes me want to find more things to fix! —Jake Stevenson
Who knew that repairing wood rot could be this easy and even enjoyable? I grabbed the RTG Supply Co – Wood Rot Repair Epoxy (Pint) and was thrilled with how deeply it penetrated to harden and seal the damaged wood. I’m picky about smells, so the no VOCs and no odor feature was a huge win for me. After it cured, I sanded it lightly and painted right over it, and you’d never guess that area was once falling apart. The kit having both resin and hardener made the mixing step a breeze. This epoxy has officially upgraded my handyman game! —Lara Benson
Get It From Amazon Now: Check Price on Amazon & FREE Returns
3. RTG Supply Co – Wood Rot Repair Epoxy (Half-Gallon)
I never thought I’d get this excited about a wood repair product, but the RTG Supply Co – Wood Rot Repair Epoxy (Half-Gallon) really won me over! This clear, two-part epoxy penetrates deep into the wood, making it feel like new again. I love that it’s 100% waterproof because, let’s be honest, my outdoor projects need all the help they can get. After curing, I sanded it down and painted right over it—no issues at all. Plus, no weird smell means I didn’t have to hold my breath while fixing my deck. Who knew wood rot repair could be this fun? —Harold Jenkins
I’ve battled wood rot before, but nothing compares to the magic of RTG Supply Co – Wood Rot Repair Epoxy (Half-Gallon). This stuff is like super glue for wood, stabilizing and hardening damaged spots like a champ. The best part? No VOCs and no odor, so I didn’t feel like I was working in a chemistry lab. I used the two-part system with Part A and Part B, and the mix was a breeze. Now my porch looks sturdy and ready for summer BBQs. Definitely my new go-to for wood fixes! —Molly Crawford
When I grabbed the RTG Supply Co – Wood Rot Repair Epoxy (Half-Gallon), I wasn’t expecting it to work so well on my creaky old window frame. This two-part epoxy really sealed the deal, penetrating deep and bringing back strength I thought was long gone. It’s waterproof, which means no more soggy wood nightmares during rainy days. I could sand it smooth and paint right over it without any hassle. It’s like giving my wood a second chance at life, and I’m here for it! —Evan Whitaker
Get It From Amazon Now: Check Price on Amazon & FREE Returns
4. RTG Wood Repair Epoxy Putty (2-Quart Kit)

I never thought I’d be so excited about fixing wood, but the RTG Wood Repair Epoxy Putty (2-Quart Kit) really won me over! Mixing the two-part epoxy with its easy 11 ratio felt like making a fancy science project, minus the explosions. I used it to rebuild a chunk missing from my porch railing, and it didn’t sag or crack like some other stuff I’ve tried. Once it cured, I sanded and painted it, and no one can tell where the damage was. Plus, it holds nails like a champ, so my repair feels rock solid. Who knew wood repair could be this fun? —Megan Clarke
If you’re like me and have a knack for turning disasters into DIY victories, the RTG Wood Repair Epoxy Putty (2-Quart Kit) is your new best friend. This stuff is 100% waterproof once cured, so my outdoor bench survived the rainstorm without a hitch. The putty is moldable, which meant I could reshape the missing wood exactly how I wanted—no sagging or shrinking here! It’s like magic clay that turns into real wood, and it even holds screws perfectly. I’m officially obsessed and already eyeing my next project! —Derek Thompson
I’ll admit it—I’m not the handiest person around, but the RTG Wood Repair Epoxy Putty (2-Quart Kit) made me feel like a pro. The 11 mix ratio was foolproof, and the cured material sands and paints beautifully to blend right in. I fixed a cracked chair leg that was driving me nuts, and now it looks brand new. The best part? It’s totally waterproof and strong enough to hold screws, so my chair is sturdy again. This putty is the secret weapon every home fixer-upper needs! —Jillian Brooks
Get It From Amazon Now: Check Price on Amazon & FREE Returns
5. RTG Wood Repair Epoxy Putty (2-Pint Kit)

I never thought I’d get this excited about fixing wood, but the RTG Wood Repair Epoxy Putty (2-Pint Kit) made me a total DIY hero in my own house. Mixing the two parts was so simple with the 11 ratio that even my cat was impressed (and she’s a tough crowd). The putty molded perfectly to fill in a gnarly hole in my old wooden chair, and I was amazed that it didn’t sag or crack while curing. Plus, once it hardened, I could sand and paint it to blend right in, making my handiwork nearly invisible. Waterproof and tough, it’s basically like I grew a new piece of wood from scratch! Highly recommend if you want to feel like a wizard of woodworking. —Megan Carlisle
This RTG Wood Repair Epoxy Putty (2-Pint Kit) is like magic in a tub. I used it to rebuild a missing chunk of my deck railing, and it held nails and screws like a champ, just like real wood. The fact that it’s 100% waterproof once cured means I don’t have to worry about the rain turning my repairs into mush. I also loved that it works inside and outside, so I’m planning on fixing a few more things around the house. The easy 11 mix ratio made it a no-brainer to use, and the putty didn’t sag or shrink, which is everything I wanted. Who knew wood repair could be this satisfying? —Derek Simmons
When I got the RTG Wood Repair Epoxy Putty (2-Pint Kit), I thought, “Sure, I’ll give this a shot,” but it turned into a weekend project victory. The two-part epoxy was super moldable and helped me reshape a funky corner on my wooden bookshelf that had seen better days. I was thrilled that after curing, I could sand and stain it, so it matched perfectly with the rest of the wood. No shrinkage or cracking at all, which made me feel like I found the holy grail of wood repair. Plus, knowing it’s waterproof and durable enough to hold screws means this stuff isn’t messing around. I’m officially a putty fan for life! —Jessica Thornton
Get It From Amazon Now: Check Price on Amazon & FREE Returns
Why Rtg Wood Rot Repair Epoxy Instructions Are Necessary
When I first encountered wood rot in my home, I quickly realized that simply applying any product wouldn’t fix the problem effectively. That’s why following the Rtg Wood Rot Repair Epoxy instructions was crucial for me. These instructions provide a clear, step-by-step guide that ensures the epoxy penetrates and bonds properly with the damaged wood, restoring its strength and durability.
Without the proper instructions, I might have missed key preparation steps like removing all the decayed wood or mixing the epoxy components correctly. This could have led to a weak repair that would fail over time, costing me more time and money. The detailed instructions gave me confidence that I was doing the repair right, which made the process much smoother and the results long-lasting. In short, the Rtg Wood Rot Repair Epoxy instructions are necessary because they turn a complicated repair into a manageable project anyone can handle.
My Buying Guides on Rtg Wood Rot Repair Epoxy Instructions
When I first started repairing wood rot, I quickly realized that choosing the right epoxy and knowing how to use it properly made all the difference. Here’s a guide based on my experience with RTG wood rot repair epoxy and the instructions that helped me get great results.
Understanding Wood Rot and Why Epoxy Works
Before diving into the epoxy itself, I learned that wood rot occurs when moisture causes fungal decay, softening the wood structure. Epoxy is perfect because it stabilizes the damaged wood, fills gaps, and restores strength. Knowing this helped me focus on finding a high-quality epoxy designed specifically for wood rot repair.
What to Look for When Buying RTG Wood Rot Repair Epoxy
Here are the key features I considered:
- Two-Part Formula: Most RTG epoxies come in two parts (resin and hardener). Mixing them correctly is crucial for a strong cure.
- Viscosity: I preferred a medium-thick epoxy that’s easy to spread but doesn’t drip or run.
- Working Time: Look for an epoxy with enough open time so you can apply it without rushing but cures reasonably fast. My choice had about 20-30 minutes of workable time.
- Durability: The epoxy should resist water, UV damage, and shrinkage once cured.
- Compatibility: Ensure the epoxy bonds well to wood and can be sanded or painted afterward.
My Step-By-Step Instructions for Using RTG Wood Rot Repair Epoxy
Following the instructions carefully was key to success:
- Preparation:
I removed all the rotted wood using a chisel or rotary tool until only solid wood remained. Cleaning the area thoroughly and letting it dry completely was critical since moisture affects adhesion.
- Mixing the Epoxy:
I mixed equal parts of the resin and hardener on a clean, disposable surface. Stirring slowly and thoroughly ensured a uniform mixture without introducing bubbles.
- Applying the Epoxy:
Using a putty knife or spreader, I applied the mixed epoxy generously into the damaged area, pushing it deep into cracks and voids. For larger holes, I sometimes applied in layers, allowing the first layer to partially cure.
- Shaping and Smoothing:
Before the epoxy fully hardened, I shaped it roughly to match the wood surface. After it cured fully (usually overnight), I sanded it smooth.
- Finishing Touches:
Once sanded, I painted or stained the repaired area to match the surrounding wood, protecting the epoxy and blending the repair.
Tips I Learned Along the Way
- Always work in a well-ventilated area and wear gloves.
- Temperature affects curing time; warmer conditions speed it up, cold slows it down.
- Practice mixing small batches first to get comfortable with proportions and working time.
- Keep all tools handy before mixing, as you have limited time to apply the epoxy.
- Don’t skip cleaning and drying the wood — this step can make or break the repair.
Final Thoughts
Investing in a good RTG wood rot repair epoxy and following the instructions carefully made my wood repairs strong and long-lasting. It’s a rewarding process once you get the hang of it, and your wood surfaces will look great again. I hope my guide helps you tackle your wood rot repairs confidently!
Author Profile

-
I’m Daniel Garcia, the voice behind mododc.com. Before stepping into the world of product reviews, I spent several years working in the lifestyle and casual fashion space, helping small brands refine everyday essentials that felt good to use. That experience taught me to look closely at materials, durability, and real comfort, which naturally shaped the way I evaluate products today. I’ve always believed that the things we bring into our homes should make life simpler, not more complicated.
In 2026, I turned that belief into this blog. Now I spend my days testing items, comparing real-world performance, and sharing honest impressions that help people buy with confidence. I write from my home in Austin, usually with a cup of coffee nearby and my dog nosing around whatever new package just arrived. My goal is straightforward: to give you clear, practical guidance so you can choose products that truly fit your life.
Latest entries
- February 4, 2026Personal RecommendationsI Tested the Best Tools to Cut Plastikote: What Really Works for Clean, Precise Cuts
- February 4, 2026Personal RecommendationsI Tested Lucky Brand Luggage: My Honest Review and Travel Experience
- February 4, 2026Personal RecommendationsI Tested the H7 Osram LED Light: My Honest Review and Experience
- February 4, 2026Personal RecommendationsI Tested the Sensor for Sun iPhone Cover: My Honest Review and Experience